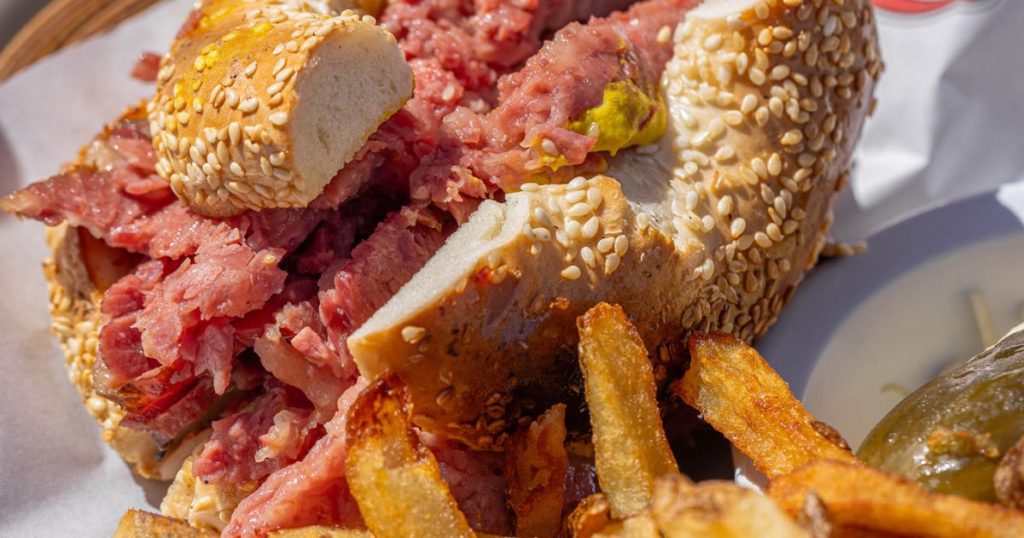
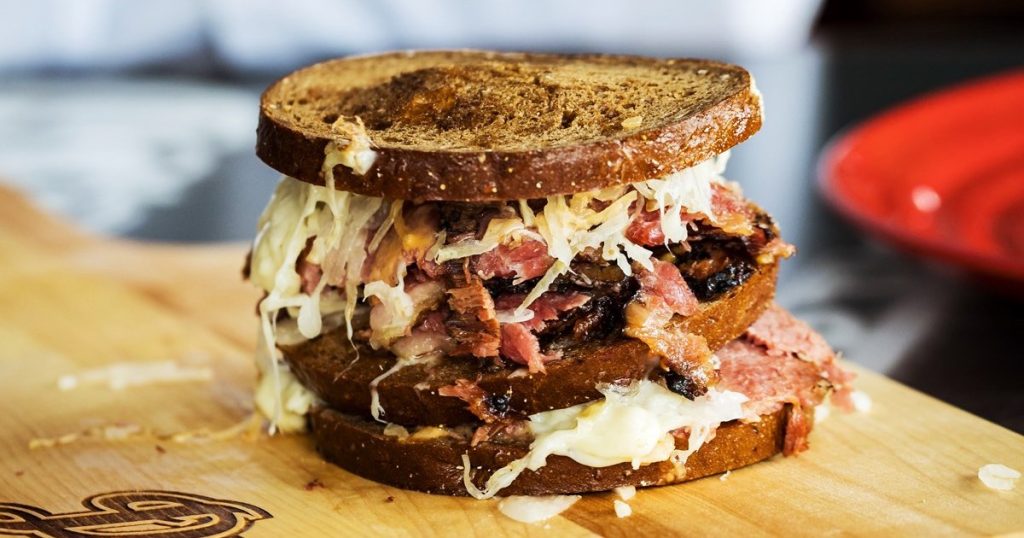
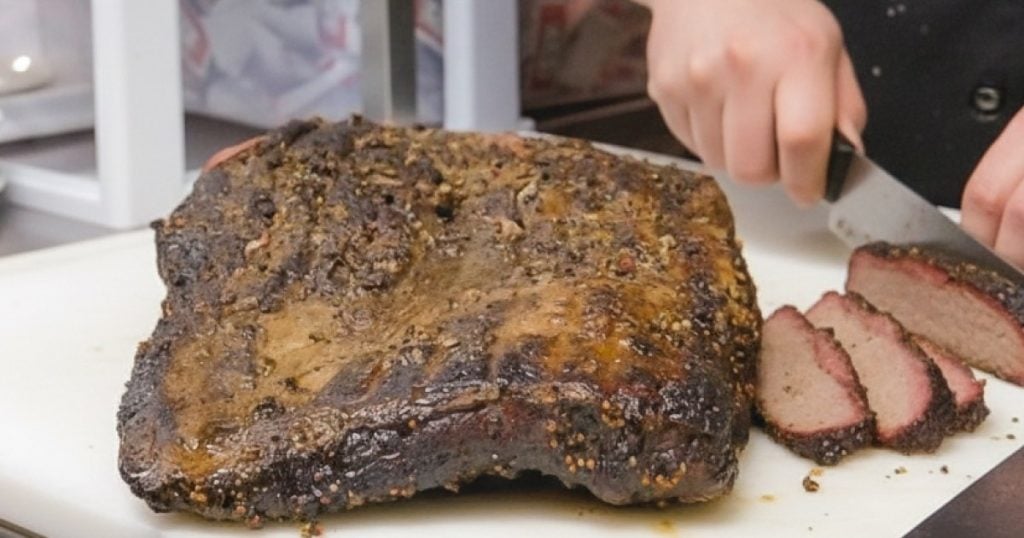
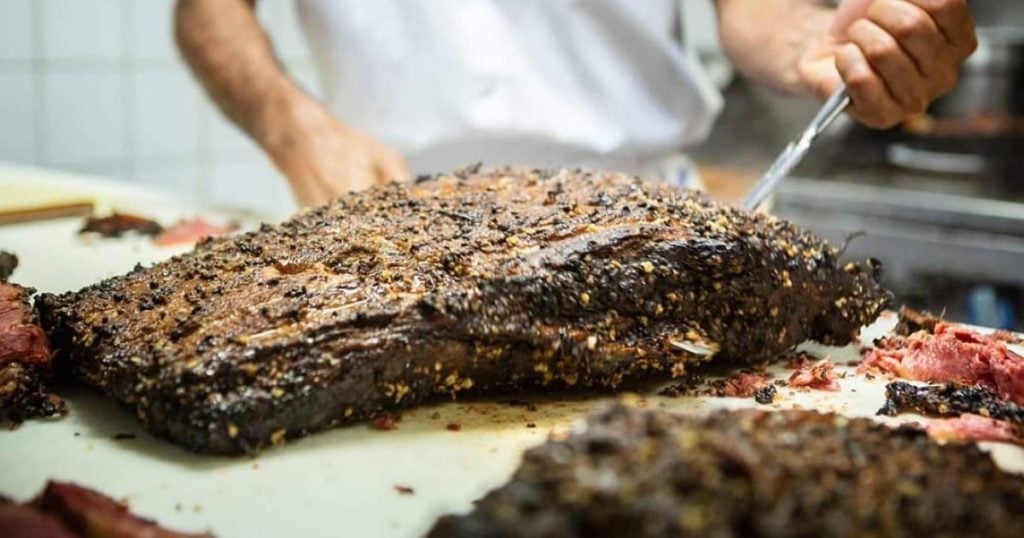
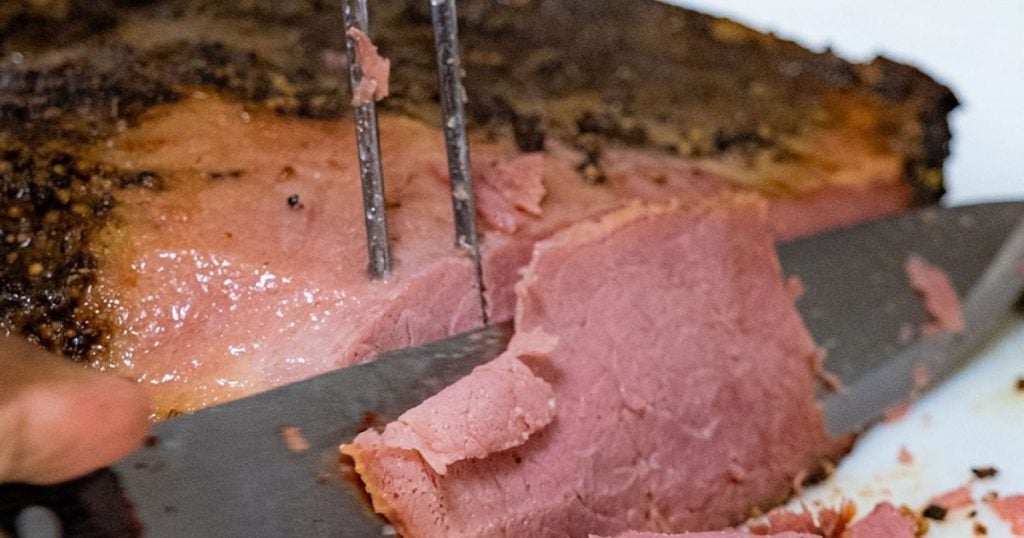
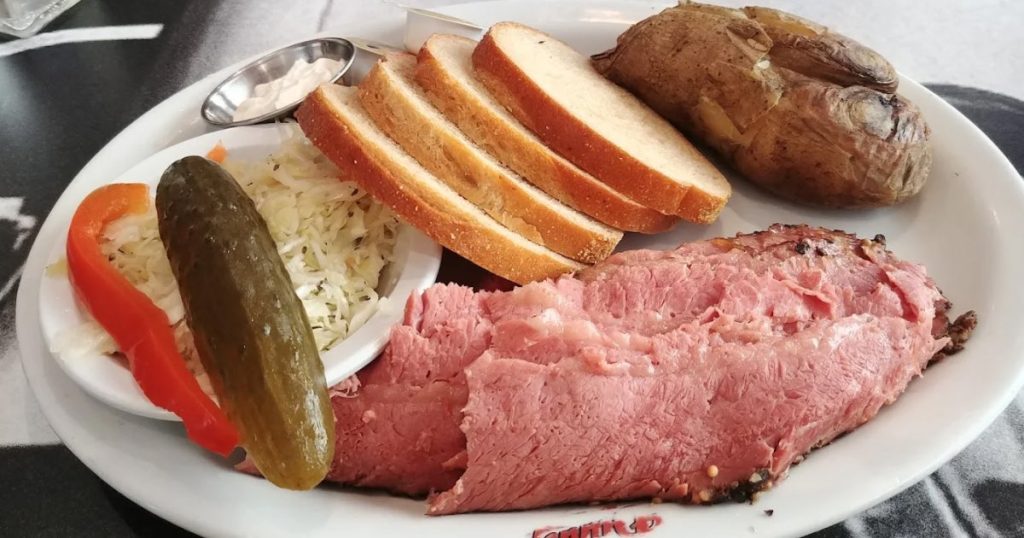
There’s something magical about a perfectly cooked beef brisket, the kind that’s so tender it practically falls apart under your fork, with layers of smoky richness melting into every bite. While there are plenty of modern shortcuts and gadgets for cooking brisket today, nothing beats the slow, patient process of using your oven. It’s a classic technique that brings out deep flavors, juicy textures, and that nostalgic, home-cooked aroma filling the kitchen.
In this guide, we’ll walk you through a simple, step-by-step method to master oven-cooked brisket. From choosing the right cut and seasoning it perfectly to achieving that melt-in-your-mouth tenderness, you’ll have everything you need to serve a brisket worth remembering.
Choosing the Right Cut of Brisket
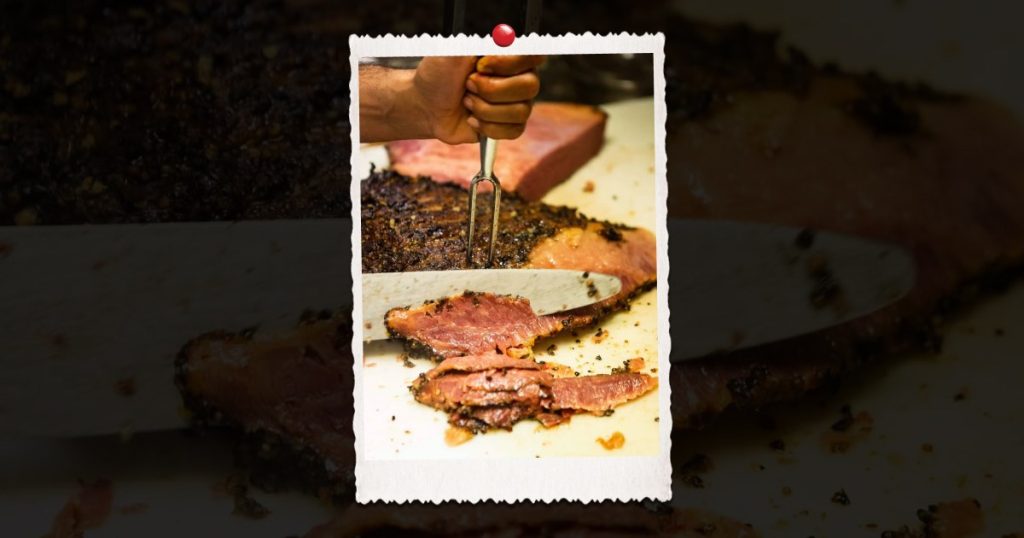
When it comes to cooking the perfect oven-baked brisket, your choice of cut makes all the difference. Brisket comes from the lower chest of the cow, and it’s divided into two main sections, each with its own flavor profile and cooking personality.
1. The Flat (First Cut)
The flat is the leaner portion of the brisket, with a uniform thickness that makes it ideal for clean, even slices. If you’re hosting a dinner where presentation matters, this cut is perfect. It cooks more evenly, making it easier to achieve that tender, juicy texture without falling apart.
2. The Point (Second Cut)
The point has more marbling, which means richer, juicier bites and meat that’s perfect for shredding. This cut is slightly thicker and fattier, so it needs a longer cooking time to break down all that connective tissue and achieve melt-in-your-mouth results.
Pro Tip: Keep the Fat Cap
Ask your butcher to leave a good layer of fat (about ¼ inch) on top of the brisket. During slow oven cooking, this fat renders down and self-bastes the meat, keeping it moist and preventing it from drying out.
Essential Ingredients & Tools: What You’ll Need
Cooking a perfectly tender beef brisket in the oven starts with having the right ingredients and tools ready.
Key Ingredients
- Brisket Cut → Choose between the flat or point cut based on your preference for lean slices or juicy, shredded meat.
- Dry Rub Spices → A flavorful blend of paprika, black pepper, salt, garlic powder, onion powder, cumin, and brown sugar creates a bold crust on the brisket.
- Optional Marinade → For deeper flavor, marinate the brisket overnight in a mix of olive oil, Worcestershire sauce, soy sauce, or apple cider vinegar.
- Aromatics → Garlic, onions, and fresh herbs like rosemary or thyme enhance the natural beefy richness during cooking.
- Foil or Butcher Paper → Wrapping the brisket midway through cooking locks in moisture and keeps the meat juicy without over-drying.
Recommended Tools
- Roasting Pan → A deep, sturdy pan that can handle long hours of slow cooking.
- Oven Thermometer → Ensures your oven maintains a steady, accurate temperature for consistent results.
- Meat Thermometer → A must-have for checking doneness — brisket is perfectly tender when it reaches an internal temperature of 195°F–203°F (90°C–95°C).
- Carving Knife → A sharp, long-bladed knife makes slicing thin, even pieces effortless after resting.
Step 1: Prepping & Seasoning the Brisket
The foundation of a perfect oven-cooked brisket begins with careful preparation. Start by trimming any excess fat, but leave about ¼ inch of the fat cap intact; this layer keeps the meat moist during the long cooking process. Next, prepare your dry rub using a flavorful mix of salt, black pepper, smoked paprika, garlic powder, onion powder, and brown sugar for a balanced crust. Coat the brisket generously on all sides, pressing the seasoning into the meat to lock in flavor. For best results, let it rest for at least 4 hours, or refrigerate overnight, allowing the spices to penetrate deeply.
Step 2: Oven Temperature & Setup
When it comes to brisket, low and slow is the golden rule. Preheat your oven to 250°F–300°F (120°C–150°C) for a slow, even cook. Place the brisket fat side up in a roasting pan so the fat naturally bastes the meat as it renders. Using a roasting rack is ideal to elevate the brisket, preventing it from sitting in its juices. Alternatively, you can wrap the brisket tightly in foil or butcher paper halfway through cooking to retain moisture and intensify tenderness.
Step 3: Cooking Time & Internal Temperature
Brisket isn’t about speed; it’s about patience. As a general guideline, allow 60–75 minutes per pound at low heat. During the cook, expect to hit a “stall” stage around 150°F–170°F (65°C–75°C), where the internal temperature stops rising for a while; this is normal. Simply keep cooking steadily until the brisket reaches an internal temperature of 195°F–205°F (90°C–96°C). At this point, the connective tissues break down, resulting in perfectly tender, juicy meat.
Step 4: Resting & Slicing
Once the brisket reaches the right temperature, resist the urge to slice immediately. Instead, remove it from the oven, tent it in foil, and let it rest for 30–60 minutes. This crucial step allows the juices to redistribute, preventing dryness. When slicing, always cut against the grain into thin, even slices — this shortens the meat fibers and guarantees melt-in-your-mouth bites. For an extra flavor boost, save the pan drippings and drizzle them over the slices before serving.
Expert Tips
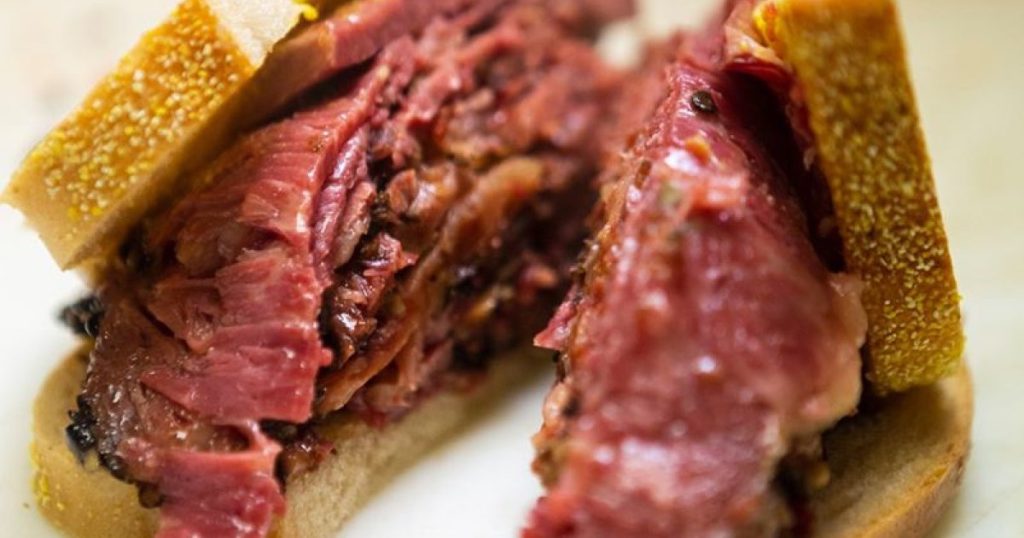
Even with a step-by-step guide, brisket can be tricky to master the first time. Here are some expert solutions to common problems:
1. Fixing Dry Brisket
If your brisket turns out dry, it’s usually caused by overcooking, trimming too much fat, or slicing it incorrectly. To prevent this:
- Leave a fat cap of at least ¼ inch to maintain natural moisture.
- Always slice against the grain; cutting with the grain makes the meat feel tougher and drier.
- If dryness happens, slice the brisket and drizzle reserved pan drippings or beef broth over it before serving.
2. Dealing with Uneven Cooking
Brisket is a large, uneven cut, so one side may cook faster than the other. To fix this:
- Place the thicker “point” end toward the hotter area of your oven.
- Rotate the brisket halfway through cooking for even heat distribution.
- Use a meat thermometer instead of relying only on time; temperature accuracy is key.
3. Using the “Texas Crutch” for Better Results
If your brisket hits the stall stage (150°F–170°F) and refuses to rise, try the Texas Crutch:
- Wrap the brisket tightly in foil or butcher paper midway through cooking.
- This traps steam and speeds up cooking while keeping the meat moist and tender.
- Butcher paper allows for a slightly better bark, while foil locks in more juices; choose based on your preference.
4. Reheating Without Drying It Out
Leftover brisket can dry out fast if reheated improperly. To preserve juiciness:
- Wrap slices in foil with a splash of broth or pan drippings and warm at 250°F until heated through.
- For the whole brisket, keep it wrapped and reheat low and slow to maintain moisture.
- Avoid microwaving unless absolutely necessary; it toughens the meat quickly.
Conclusion
Cooking the perfect beef brisket in the oven is all about patience, precision, and technique. From choosing the right cut to seasoning, slow-cooking, resting, and slicing, every step contributes to that melt-in-your-mouth tenderness brisket lovers crave. It takes time, but when done right, the reward is rich, smoky, and unforgettable.
But sometimes, you just want to skip the hours of prep and cooking and dive straight into perfection, and that’s where Dunn’s Famous comes in. Since 1927, Dunn’s has been serving hand-carved Montreal-style smoked brisket, prepared with a time-tested recipe and smoked to absolute perfection.
Visit Dunn’s Famous today and taste the difference nearly a century of expertise makes.
